R&R Tech
- Author: Jim Hamilton
- Subject Matter: Diagnosis
- Vehicle Application: 2008 Chevrolet Express 2500
- Issue: Intermittent concerns
We have all read our share of tech articles that end up with the fault being traced to a failed component. We’ve also seen plenty of information about vehicle subsystems creating “false positives” for a component that was incorrectly identified as being bad. Well, this article blends these two scenarios with another added issue: a previous repair by a careless technician.
Our subject vehicle is a 2008 Chevrolet Express 2500 cargo van. The vehicle came into our shop with complaints of the following intermittent transmission-related concerns: speedometer needle bouncing, shift indicator light goes dark and hard shifts, but only about once or twice a week. All concerns were randomly intermittent. The customer said the PCM had been replaced but had no effect on these issues.
After road-testing the vehicle with no duplication of these concerns, we connected a scan tool and the following PCM codes were displayed: U0073 (control module communication BUS off), P0700 (transmission control system fault), P0575 (cruise control switch signal circuit), P2544 (torque reduction signal circuit GMLAN). There were also codes found in both the body control module (BCM) and electronic brake control module (EBCM). After clearing the codes, we drove the vehicle for 10 miles without issue.
After checking tech resources for known issues and TSBs (with no success), we went back to basics to check the integrity of the electrical system. The first check was a battery test and charging-system analysis. These components were well within specification, so the next items to check were grounds that were relevant to the codes. After we looked up all the ground locations, visual checks and voltage-drop tests revealed no ground faults.
As we had burned up our initial quoted diagnostic time up to this point, we placed a call to the customer to get some additional diagnostic time approved. When we called to get more time for diagnosis, he informed us that the TCM, BCM, ignition switch and underhood fuse block had all been replaced within the past nine months. Needless to say, this new information was valuable and gave us new direction in our diagnosis. The customer authorized more diagnostic time, and we set out to get to the bottom of these issues.

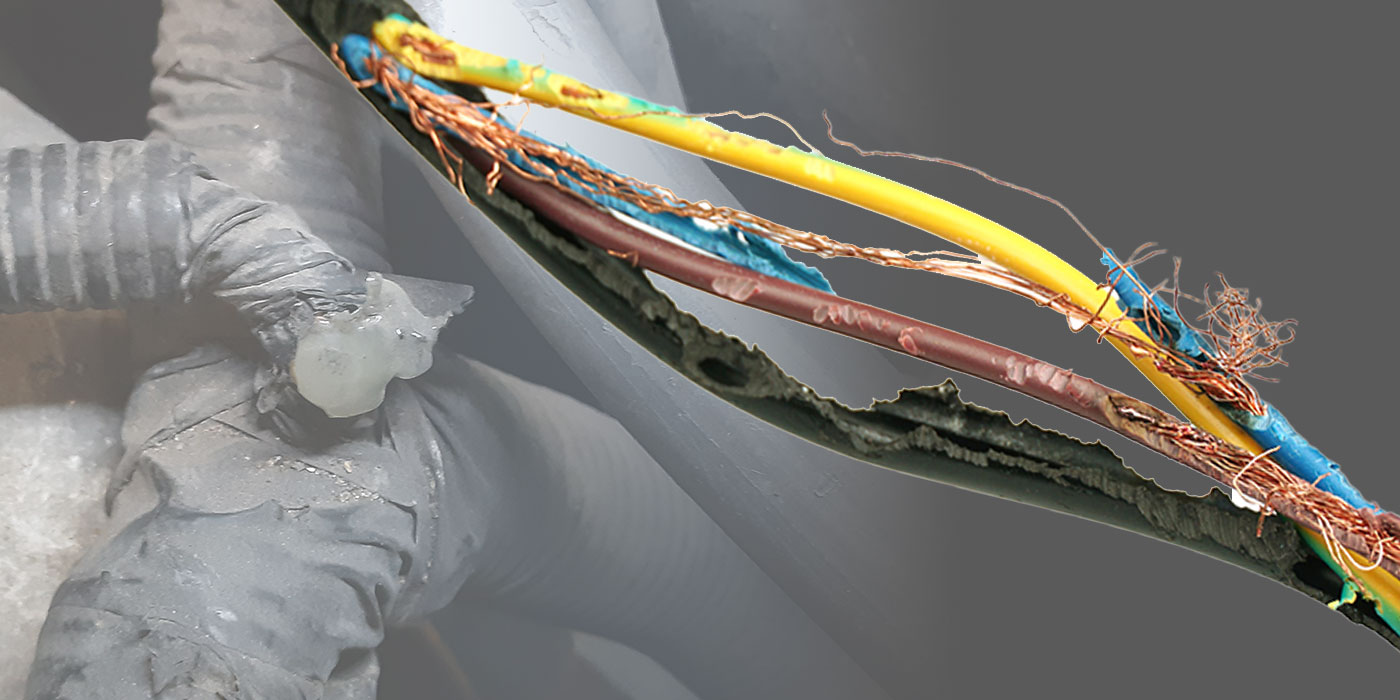
A quick visual inspection confirmed that the components the customer had mentioned had been replaced, just as he’d said. We also noted that some wiring looms, brackets, plastic covers and shields were out of place, unsecured or missing. These components were not professionally installed. We also checked wiring looms for rub-through, heat damage and chafing. No issues were found there. At this point, we thought we should review the previous repairs on the basis of some of the sloppiness we discovered when looking things over.
Since these components were supposedly new, we decided to perform wiggle tests on the connectors for the new components. We hooked up the scan tool and started the engine. Working through all the connectors for the components that were replaced, we pulled, tugged and pushed each connector. Nothing we touched created any faults. Not ready to give up just yet, we pulled out a wiring diagram to see what other components might be involved with the transmission function.
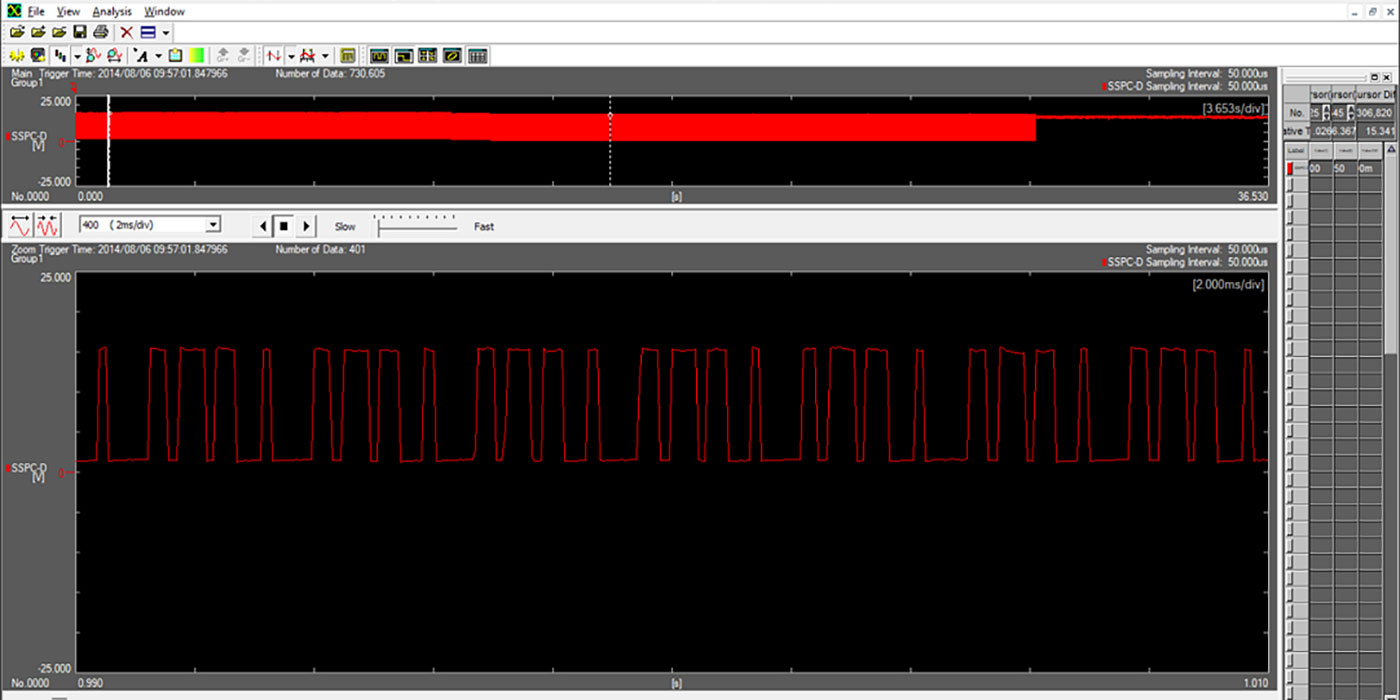
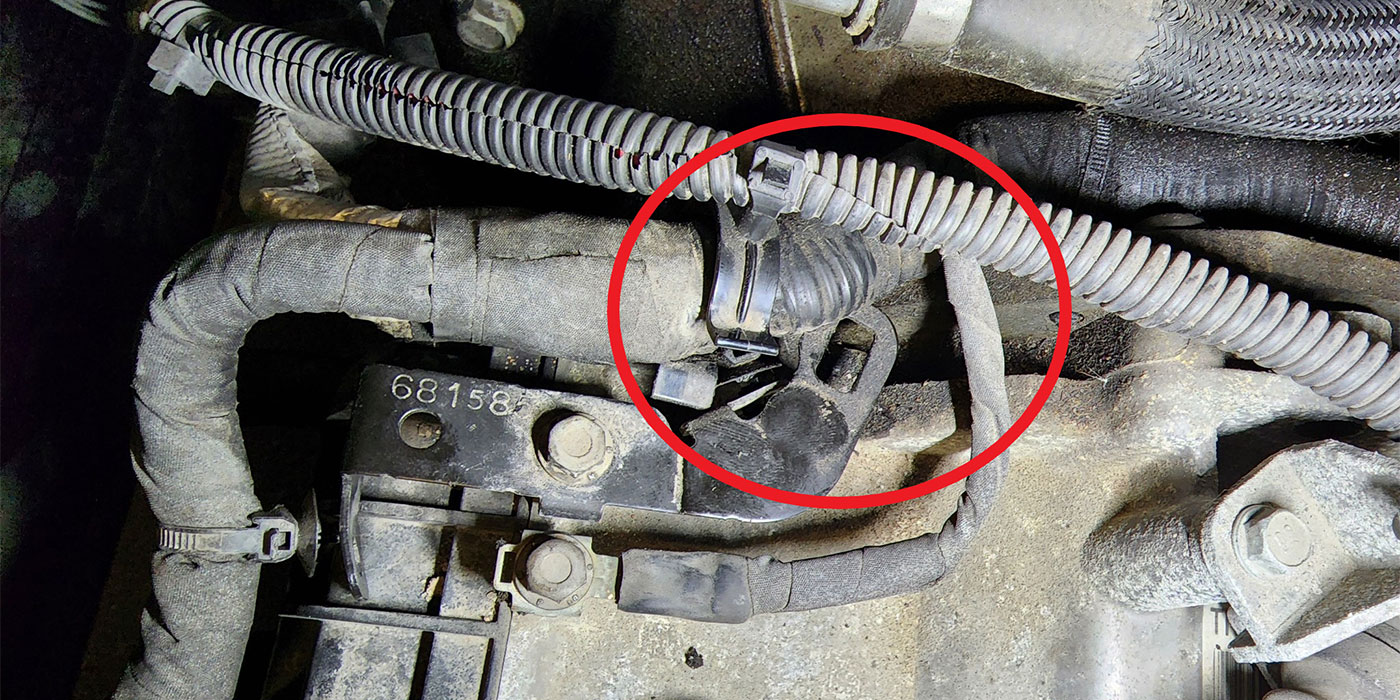
Transmission GMLAN lines run between the TCM, fuel-system control module (FSCM), EBCM, BCM and ECM. The BCM and EBCM were checked first, since they held communication codes during our initial testing. While inspecting the ECBM, we found a zip tie around the connector. Suspicious of its integrity, we performed a wiggle test on the connector. While watching the scan tool with the engine running, we could set communication codes in PCM, TCM and EBCM while gently moving the EBCM connector.
We removed the zip tie to see what was going on with the connector and found that both lock tabs on the EBCM module were broken off. The connector and wires looked fine, so we got authorization from the customer to replace the EBCM.
We installed and programmed the new EBCM; corrected the looms, brackets, shields and covers; then secured everything else that had been left loose. We drove the van every day for the next week and a half and had no issues.
The customer was very pleased. He said these issues had existed since he got the vehicle two years earlier. He had taken the vehicle to two GM dealers and two independent repair shops for this concern and said that nothing they had replaced made any difference with the issues. It’s quite possible that the tabs had been broken during prior testing and that one of the modules had actually been bad. We’ll never know.
Had the customer given us the full repair history up front, we might have had a better chance of finding the root cause sooner. As with all things that we face in diagnosing vehicle concerns, there is always the element of the unknown. In cases like these, basic visual checks become paramount to a successful diagnosis yet somehow seem to be the step that gets the least attention. By following some clues, our shop became the hero to this customer, and we will likely get his business next time he needs us.
Jim Hamilton has been a diagnostician for Certified Transmission since 1992 and has been involved in the industry for more than 36 years.