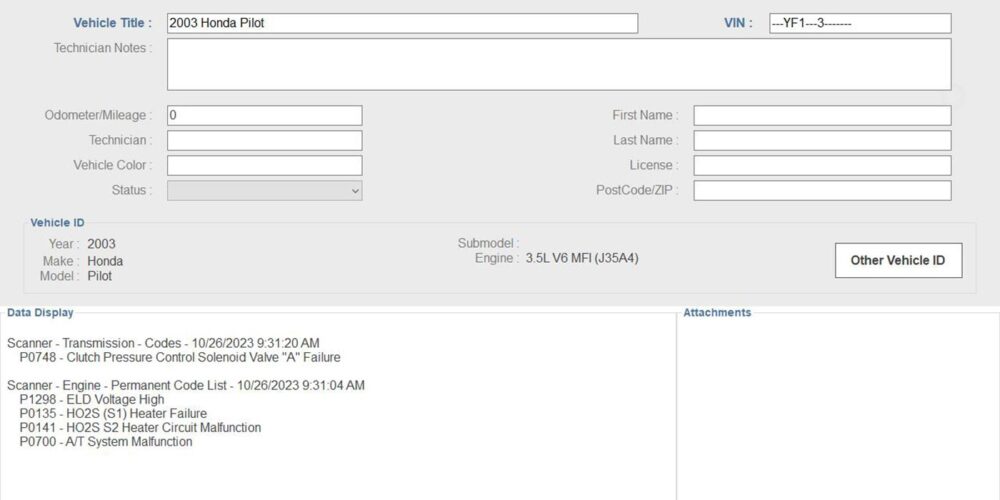
A 2003 Honda Pilot with a five-speed three-shaft transmission came into our shop with a customer concern that the vehicle had no power, and the “D” light was flashing. I first did a scan for codes to see what it came up with, and the scan tool returned four DTCs: P1298 (ELD voltage high), P0135 (H02S [S1] heater failure), P0141 (H02S [S2] heater circuit malfunction), P0748 (clutch pressure control solenoid valve “A” failure), and the ubiquitous P0700 (AT system malfunction) code. (See Figure 1).
I prepared to take the vehicle on a road test and noted that the “D” light was flashing, indicating a hard fault. I then set off for the drive to verify the performance concern. I was able to duplicate the customer’s concern of having no power; this was due to the transmission being stuck in limp mode. I decided to clear all the codes and see what codes, if any, would come back. Right away, all four DTCs came back and forced the transmission back into limp mode. I headed back to the shop for further inspection and performed the rest of my evaluation.
I checked the fluid, and it was slightly varnished, but normal for a transmission with 196,000 miles on it. I performed my visual inspection overall and didn’t see anything out of the ordinary. I also conducted an electrical analysis of the battery and charging system and discovered that the alternator was not charging. Since I now knew we had something electrical going on, I would need to get into the electrical issues first before I could go further. After getting the OK from the customer, I then went to research the issue before further diagnosing.
I checked for any applicable TSBs and found none about the DTCs or symptoms I was having. With there being four different DTCs set and some experience under my belt, I wanted to look at the charging system issue and P0748 code first. I wasn’t too concerned with the O2 sensor codes at this time. I brought up a wiring diagram of the suspect solenoid to see how the circuit works. It’s a simple circuit containing two wires with no additional connectors between the solenoid and the PCM.
First up was to check the fuses. Fuse #6 in the dash fuse box was blown. The wiring diagram showed that both pin D5 at the PCM connector and the ELD (electronic load detector) circuits were fed voltage through this fuse. The PCM supplies power and ground to the solenoid, so it is an easy item to test. I first checked to see if the actual solenoid was open; the spec is around 5 ohms. I got a result of 6.2 ohms, which is going to be slightly higher than the real number due to the transmission being warm from my test drive. I considered that reading to be OK.
I then checked the connector to see if I was getting proper voltage and ground. I had no voltage at all going to the solenoid (this was expected, given the blown fuse), and still had to deal with the alternator not charging. I suspected that these problems were tied together, but now I needed to prove it.
I decided to replace the 15A #6 fuse and see if it would restore transmission and charging functions. After replacing the fuse everything seemed to be working just fine, so I cleared the DTCs and decided to take the vehicle out for another drive.
I drove the vehicle for around five miles, and it was working great. I did hit a bump in the road and suddenly the “D” light was flashing, and it appeared that the charging system was no longer functioning. I had to hustle back to the shop before the battery went dead from not charging. When I got back to the shop, I went right to fuse #6 to check if it was blown again, and it was. At this point I was thinking that there may be too much amp draw from the solenoid, an internally shorted alternator, or a shorted wire somewhere. I needed to widen my scope and see all the components that receive power from fuse #6.
It turns out that there are a lot of components that receive power from this fuse, including the alternator, cruise control, evap purge solenoid, radiator fan module and many others This was going to take a bit of time to figure out. I replaced the fuse once again to see if it would blow right away; it did not. I then used the scan tool and went through a process of turning solenoids on and off and components related to the fuse that I could control. I did this for 15 minutes or so, and the fuse did not blow. I figured we possibly had a short to ground somewhere, given that a bump in the road triggered the short that blew the fuse.
I began looking at the wiring going to the transmission solenoid and alternator looking for any signs of rubbing or chaffing, and I did not see any issues there at all. I checked all the harnesses that were on top of the transmission, again looking for any signs of rubbing. I came up empty, so I decided to go take the vehicle out for another drive so I could find that bump in the road that I hit and see if the fuse would blow again.
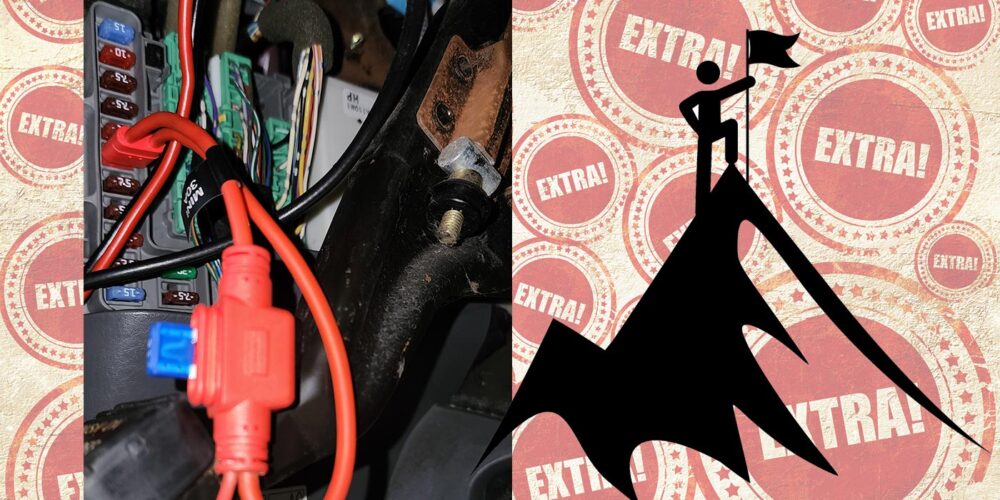
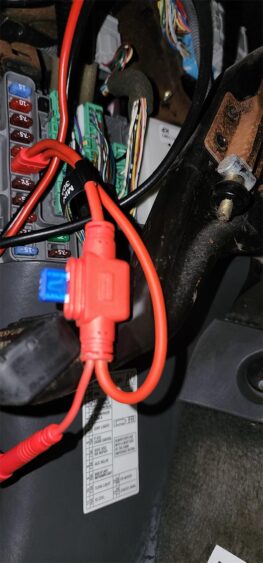
Sure enough, I duplicated the blown fuse event. At this point I hooked up a fused connection to my voltmeter and monitored it to see if we had a short to ground. I put a new fuse in my meter adapter and started wiggling wires and harnesses. (See Figure 2.) It never displayed any signs of a short.
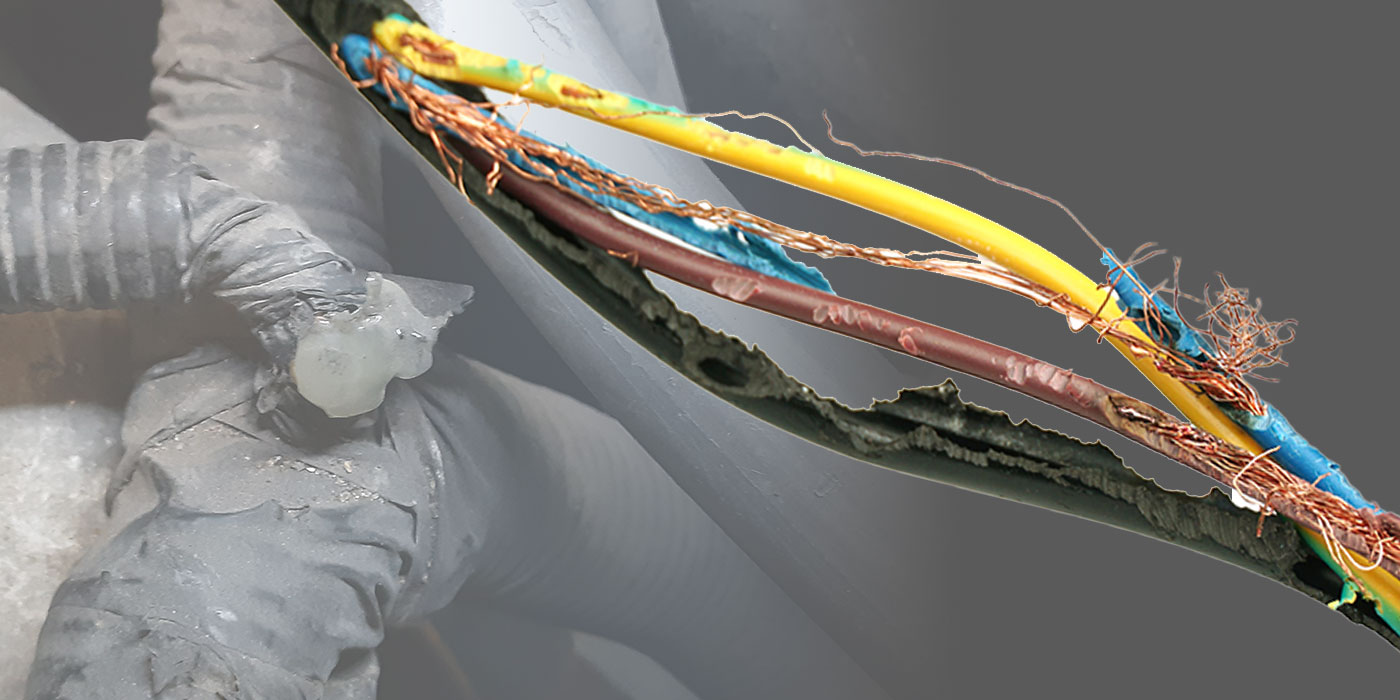
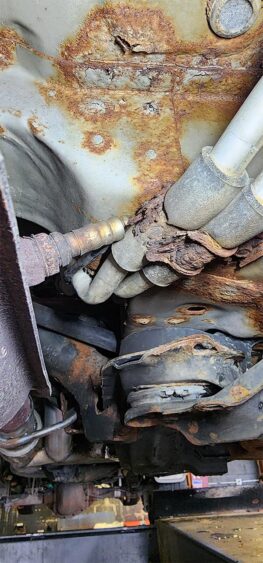
I raised the vehicle up to do the same with the harnesses from down below and came up empty-handed. While I was under the car, I noticed that it had a new Y-pipe installed on the exhaust. I didn’t think much of it at the time and continued checking the wires. One set of wires did run over the top of the exhaust and when I was wiggling the wires, my arm pushed up against the exhaust and then my meter indicated that the fuse blew again. Now I knew I was in the right area where the fault was.
Upon closer inspection, I saw that the rear O2 sensor was very close to the floor of the car. I didn’t see any exposed wires, but every time I pushed it against the floor, my meter indicated a short to ground. (See Figure 3).
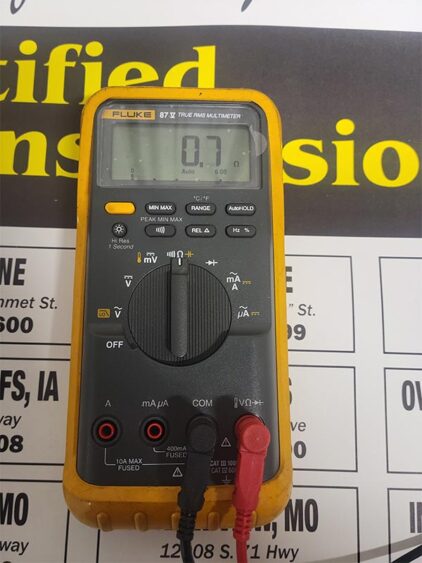
Monitoring with the Peak Min/Max function of my Fluke meter while leaving the offending O2 sensor disconnected, I ventured on another road test after once again replacing the #6 fuse. (See Figure 4).
There were no further performance problems with the vehicle (beyond the obvious O2 sensor code that was set), and the fuse remained intact throughout my road test. I was confident that I’d located the root cause of the customer’s complaints. After advising the customer, they opted to take the vehicle back to the shop that did the exhaust work to have them correct the wiring damage caused by their installation.
Sometimes the customer doesn’t always tell us about previous work that may have created a new issue because there isn’t a problem right away. It is to our benefit to watch for previous work that might be a contributor to the concerns we’re diagnosing. Our goal is to fix it right the first time and keep customers coming back to our business. Going the extra mile gets us there.
Read more stories in our R&R Tech series here.
Paul Loch has been an ASE Master Certified Technician for several years. He has been with the Certified Transmission team since 2010, and currently works at the Bellevue, NE location.