Tech to Tech
- Author: Brian Manley
- Subject Matter: Per-digital electrical diagnostics
- Vehicle Application: Various
- Issue: Dash Lights Not Functioning – 1971 C10
It’s fun to revisit old friends.
In a service and repair world filled with CAN/BUS systems, scan tool diagnoses and iATN archives, I found a recent repair interesting due to its lack of these technical needs.
My customer arrived with a 1971 Chevy C10 long-bed pickup truck and a concern that his dash lights did not function. I was excited to accept this repair because I hadn’t had my hands on one of these in quite a while! Besides, how hard could it be to find out why his dash lights weren’t working?
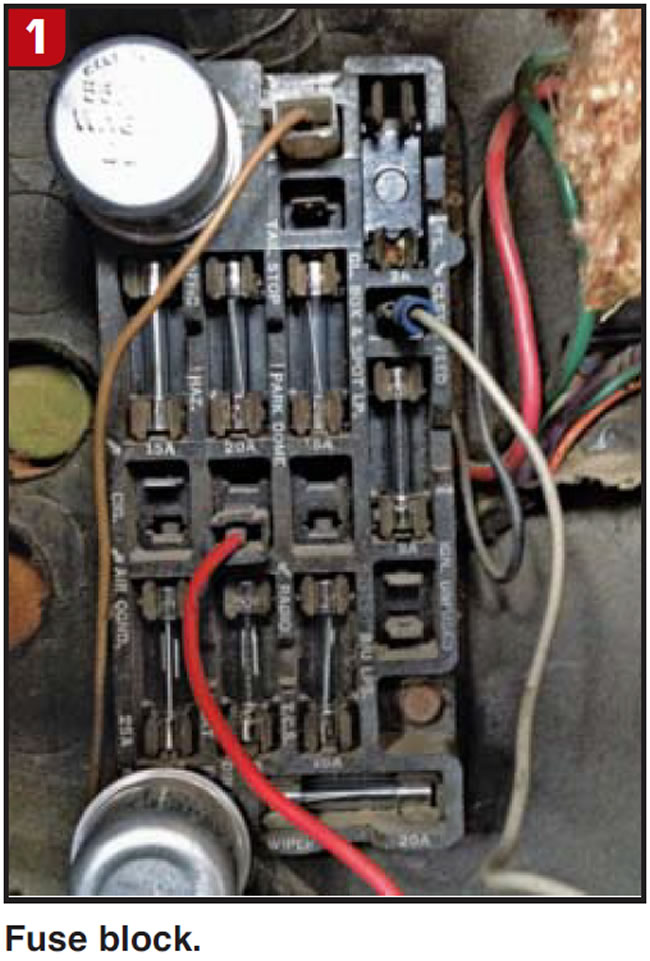
Figure 1 shows the Chevy’s fuse block, and it came in our door with a blown 3 amp “instrument cluster” fuse. There were also a handful of blown fuses in a box on the seat, indicating the presence of a hard short-circuit. I could smell the pungent odor of something electrical that had gotten way too hot also.
Since the truck’s owner told me he’d purchased it without functioning dash lamps, I knew that human error was probably involved at some point in one of this truck’s past lives.
Installing another 3 amp glass fuse confirmed the short. It blew right away after turning on the park lights. I pulled the vintage wiring diagram for this ol’ truck, and it printed out on exactly two pages!
Figure 2 shows the simplest of all schematics, with only nine fuses involved. When was the last time you saw that?
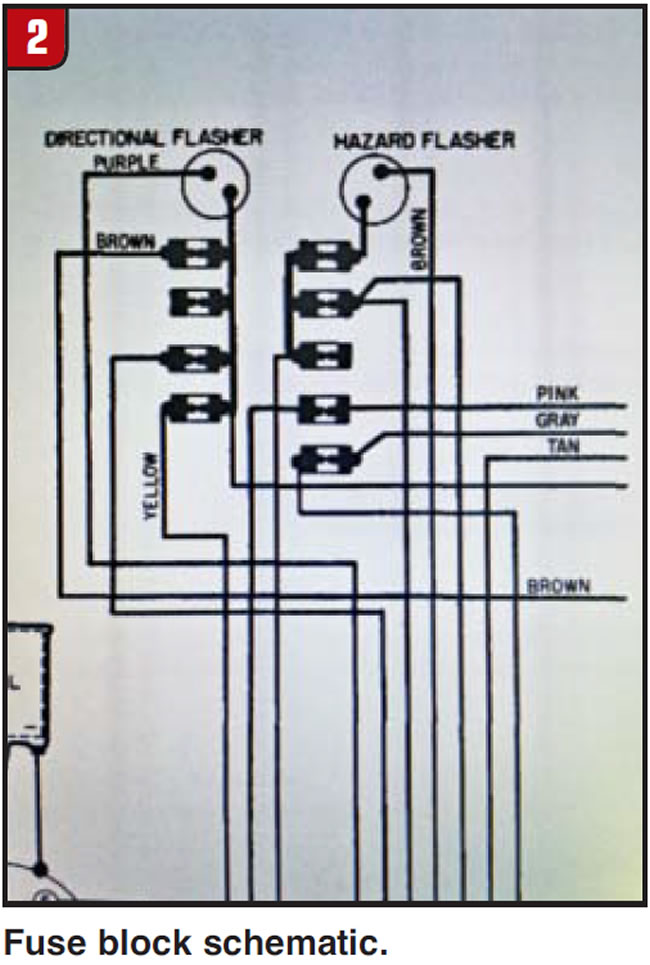
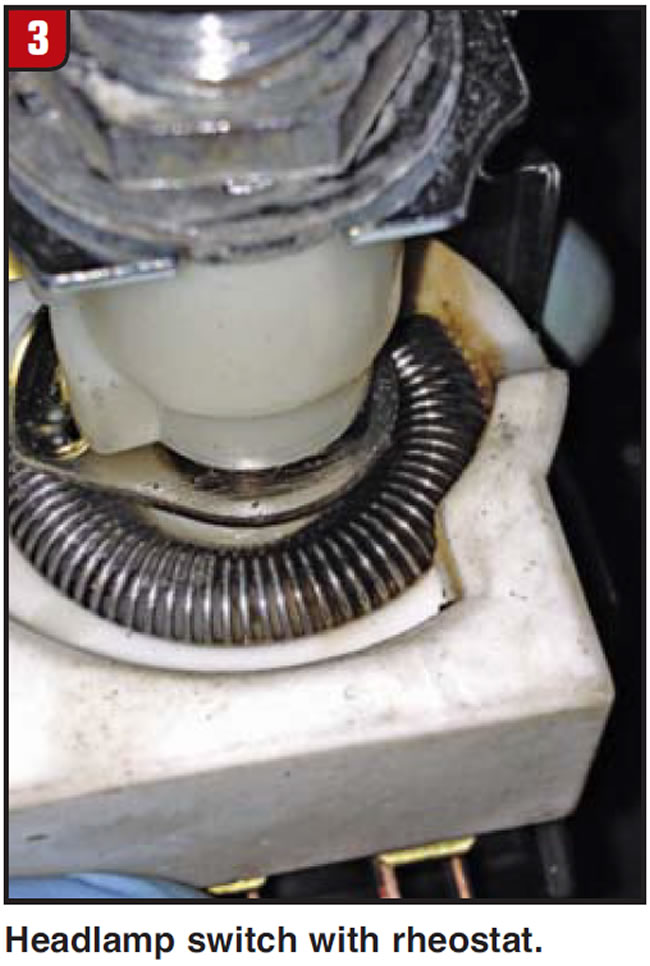
The blown fuse is shown in the lower right of the schematic, and it receives its power from the dimmer rheostat in the light switch (Figure 3). It was now evident that the rheostat had too much current flowing through it, as it was the source of the electrical burning smell. I saw evidence of fuses in the 5 amp and 10 amp range, so when our customer was substituting larger fuses, he was frying the poor rheostat before the fuse would blow.

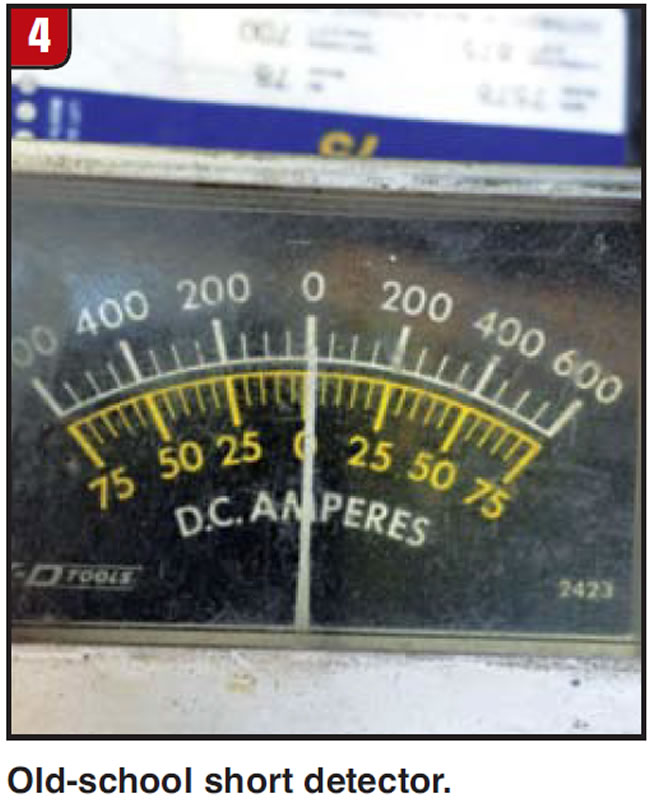
Now it was time to locate the short. Many moons ago, I used the old KD short detector, which was two wires that would replace the blown fuse, and a circuit breaker that would heat up (due to the low resistance in the shorted circuit), open, cool off and then close. There was also a red lamp wired in so that there was a visual confirmation of the short. The device would pulse the current flowing to the site of the short. The mobile inductive ammeter (Figure 4) was then moved along the circuit’s harness, showing a needle deflection that corresponded with the circuit breaker resetting. When the needle stopped deflecting, you had moved past the short.
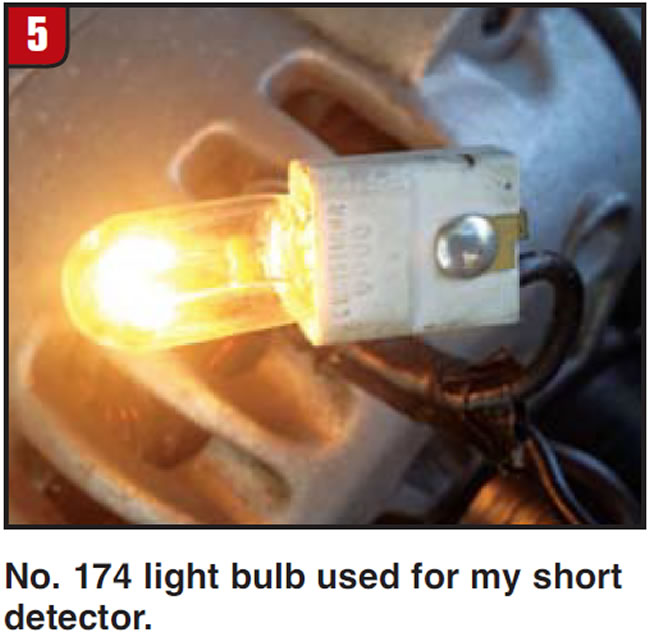
This old-school short detector never worked very well for me, so for this particular truck, I simply clipped a No. 174 lamp in place of the fuse with long jumper wires so I could see the bulb from under the dash (Figure 5). The lamp came on when I pulled on the headlamp switch, indicating there was a short circuit present.
Remembering that dash circuits in these older vehicles had some poor connection and short-circuit issues, I decided to pull the instrument cluster from the dash. This exposed much of the wiring and gave me a good view of most of the dash harness (Figure 6).
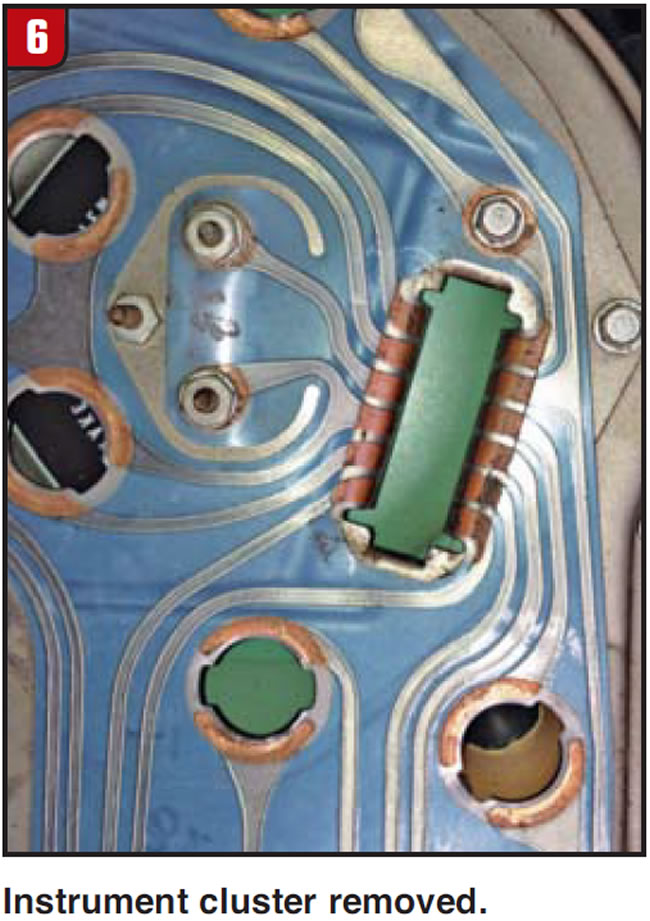
Once I had the instrument cluster belly-up, I scrutinized all of the circuit pathways, and I popped out all of the dash bulbs as well. I did not see any issue there and it was a moot point anyway, because my short-detection bulb was still burning brightly.
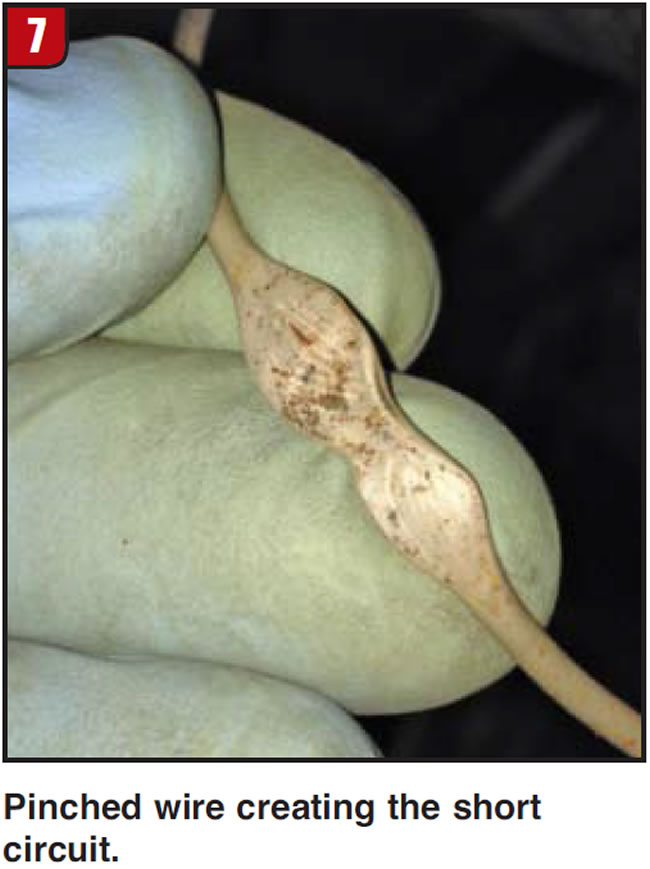
I was narrowing down my search. I now took a closer look at all of the wiring between the fuse block and the headlamp switch, looking for any signs of human intervention. I searched for quite a while, and then I spied a gray wire that disappeared between the steering column bracket and its mounting surface on the dash structure. The wire then popped out the other side of the bracket. This was the only thing that looked out-of-place, so I pulled the four bolts out that held the steering column to the dash frame. This was when I saw the “squished” wire you see in Figure 7. The wire had been crushed enough that just a small bit of copper pierced through its insulation, making contact with the metal frame of the dash. This turned out to be the source of my short circuit!
It is always fun to find faults like these, because it makes me feel like a detective, and if you are like us, people bring us some of the tough cases that “have been to a few other shops already”. Accepting these vintage jobs takes me back a few decades, but it’s fun to revisit some old friends like these once in a while.

Brian Manley is a vocational automotive instructor for the Cherry Creek school district in Aurora, Colo. He is an ASE master certified automobile technician and a former member of the National Automotive Technicians Education Foundation (NATEF) board of trustees. He can be reached at [email protected].
This copyrighted article is reprinted with the permission of AutoInc., the official publication of the Automotive Service Association (ASA). To learn more about ASA and its commitment to independent automotive-service and repair professionals, visit www.ASAshop.org or call 800-272-7467.

