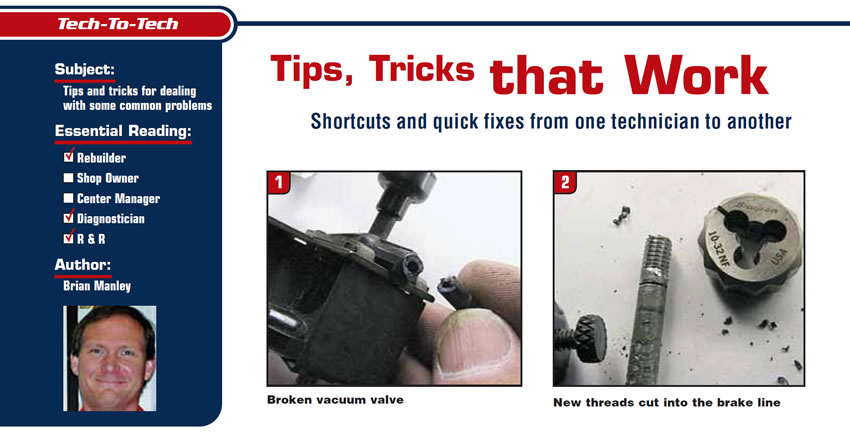
Tech to Tech
- Subject: Tips and tricks for dealing with some common problems
- Essential Reading: Rebuilder, Diagnostician, R & R
- Author: Brian Manley
Shortcuts and quick fixes from one technician to another
Let’s face it: Sometimes bad things happen to good technicians. Have you ever found yourself in the situation where you are trying to fix a problem, only to create a new one? I have popped the hood to check for a vacuum leak and, in the process, created a vacuum leak by snapping a plastic port off. In this month’s column, I will share a handful of cool tricks and tips that I’ve picked up over the years from co-workers, classes and forums.
First up: Broken plastic fittings. I have used this one successfully several times. On older vehicles, plastic gets brittle and vacuum lines harden, often leaving me with a two-piece nipple (Figure 1).
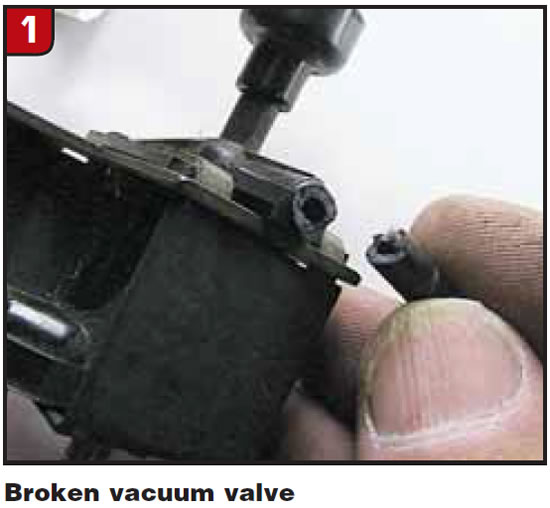
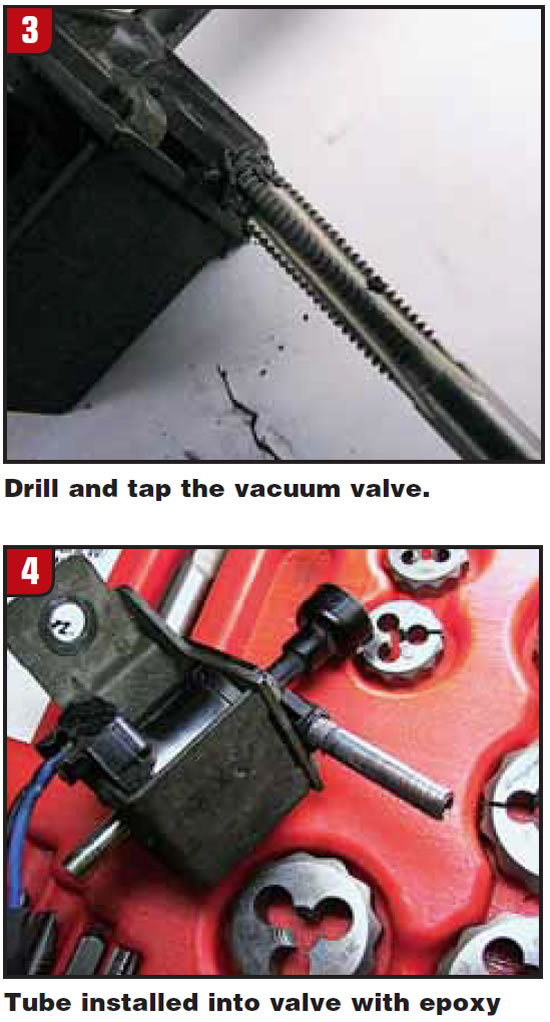
Sometimes vacuum valves are hard to find and/or very expensive. In this case I find metal tubing close to the outer diameter of the plastic fitting (used brake tubing in this case) and run a die over it to create a few threads (Figure 2). I then drill the opening in the valve and run a tap into it (Figure 3). Be careful not to go too deep with either tool. A dab of two-part epoxy and the repair ends up stronger than the original (Figure 4)!

TIP: If you want to be certain you won’t break the plastic fitting or damage the heater-core fitting, slice the hose along the fitting and peel it away. Shorten or replace the hose. It’s cheaper than the alternative. If the hose is still pliable, I have taken a pick, pulled the hose away and sprayed penetrant into the gap. Practicing finesse – while loosening the hose in a twisting motion – is the operative word here.
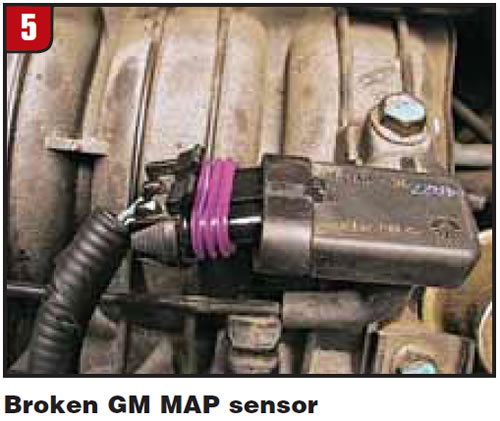
Have you ever run across wiring connectors with broken retainers? I know; it’s always the other guy who does that. Figure 5 shows a General Motors Corp. manifold-air-pressure (MAP) sensor connector with a missing clip. I was faced with two options here: Replace the connector or retain it with heat-shrink tubing. Since this one is a GM connector, it is fairly easy to find a new one, but that is not always the case.
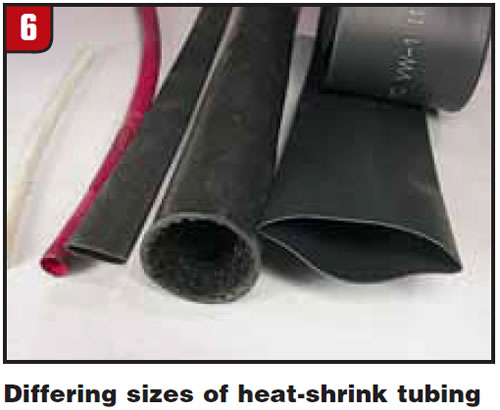
If you find yourself needing a quick, clean means of retaining a connector into its housing, use some really big heat-shrink tubing (Figure 6). I get mine at the discount tool store for a good price, but it is one of the few things I buy there.
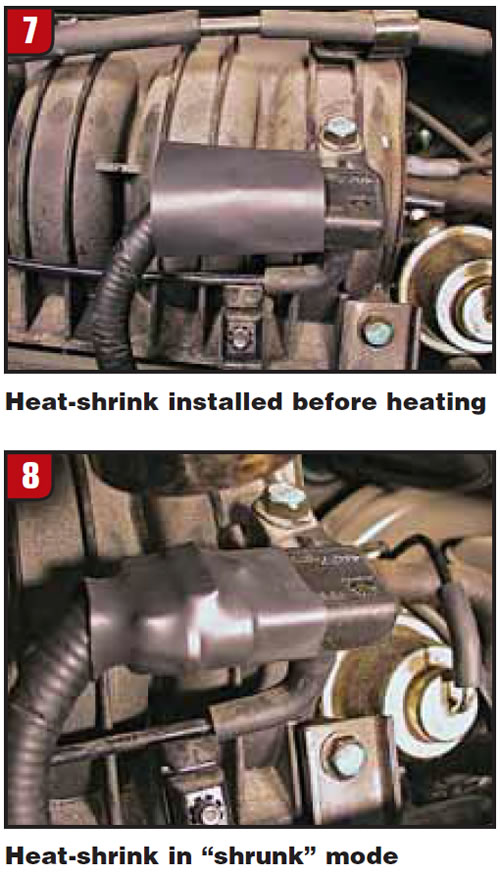
Cut the tubing to length, insert connector and heat until done (figures 7 & 8). It looks better than zip ties and provides excellent weatherproofing!
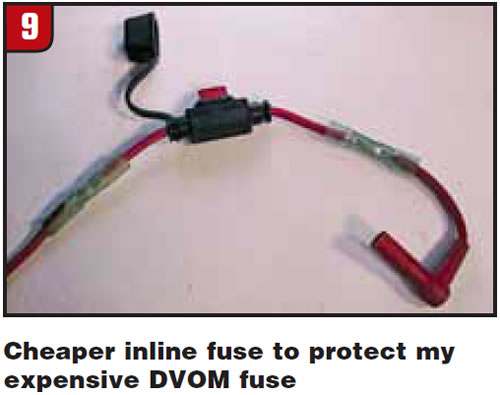
Have you ever blown the fuse in your digital volt/ohmmeter (DVOM)? Does yours cost $8 like mine does? I grew tired of forking out money for expensive fuses, especially when apprentices use my meters. So I decided to use a tip I’d heard about a while ago: Fuse my meter. I purchased a $5 fuse holder from the parts store and put it in line to my positive meter lead. Now I blow much-cheaper fuses. Since my meter has a 20-amp capacity, I use a 10-amp in my safety fuse (Figure 9). Most Fluke meters have a 10-amp capacity, so I would fuse it to 5 amps or 7.5 amps.
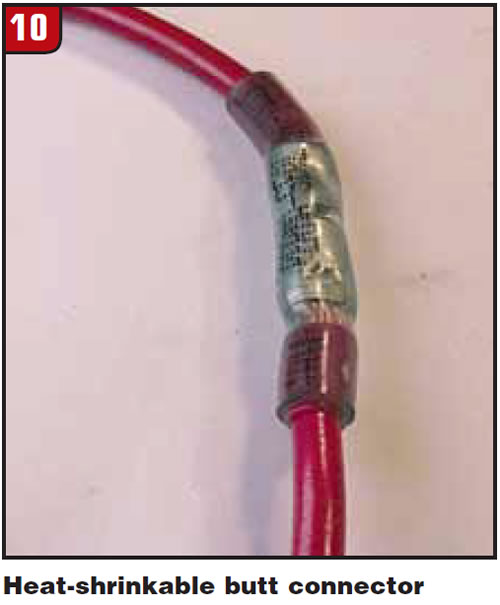
When repairing wires, I traditionally strip the wires, slide some heat-shrink tubing down one side, twist the wires, solder and then install the heat-shrink. However, I have been using heat-shrinkable butt splices on some occasions, and I find them simple to use and very durable. The walls in this heat-shrink are very thick, and it even has epoxy in the tubing in some brands, ensuring a weather-tight seal around the wire (Figure 10).
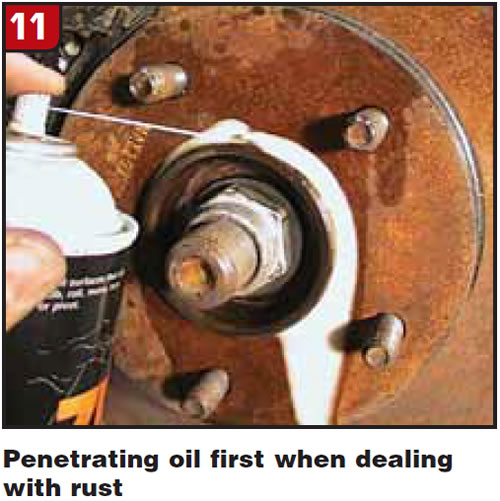
When I am faced with a stubborn, rusty brake rotor or drum, and hitting it with a hammer won’t crack it loose, I can always get them loose with the following process: Penetrating oil, vibrating hammer and heat (Figure 11). The penetrating oil we currently use works very well and has saved parts and pieces I thought would have to be destroyed and replaced. I find that penetrating oil and patience work for most situations, but if it doesn’t, I use my air hammer with a dull bit to vibrate around the hub flange. In virtually every case the rotor or drum will give up, but in tough cases I use the oxyacetylene torch to heat the edge of the drum/rotor. I find that this method is kinder to the hub flange and bearing than a 10-pound sledge!
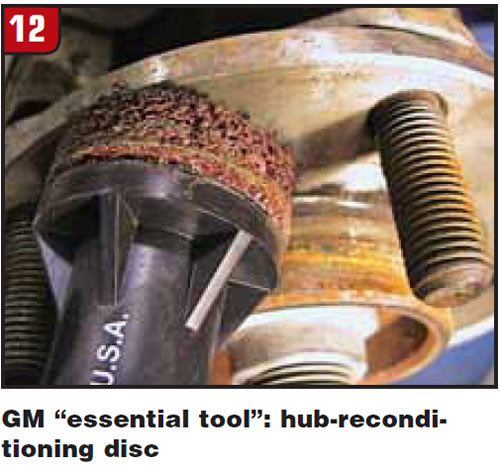
Speaking of rotors and drums, before pulling them off the vehicle, index them to the hub with a marker to maintain the same orientation. In addition, I use a surface-conditioning disc to clean the rust from the flange and from the rotor or drum mating surfaces. The tool pictured is actually a GM “essential tool”: a hub-reconditioning disc. The one you have in your toolbox for gasket removal should work just fine. Runout can be created in these assemblies if you don’t follow this process (Figure 12).
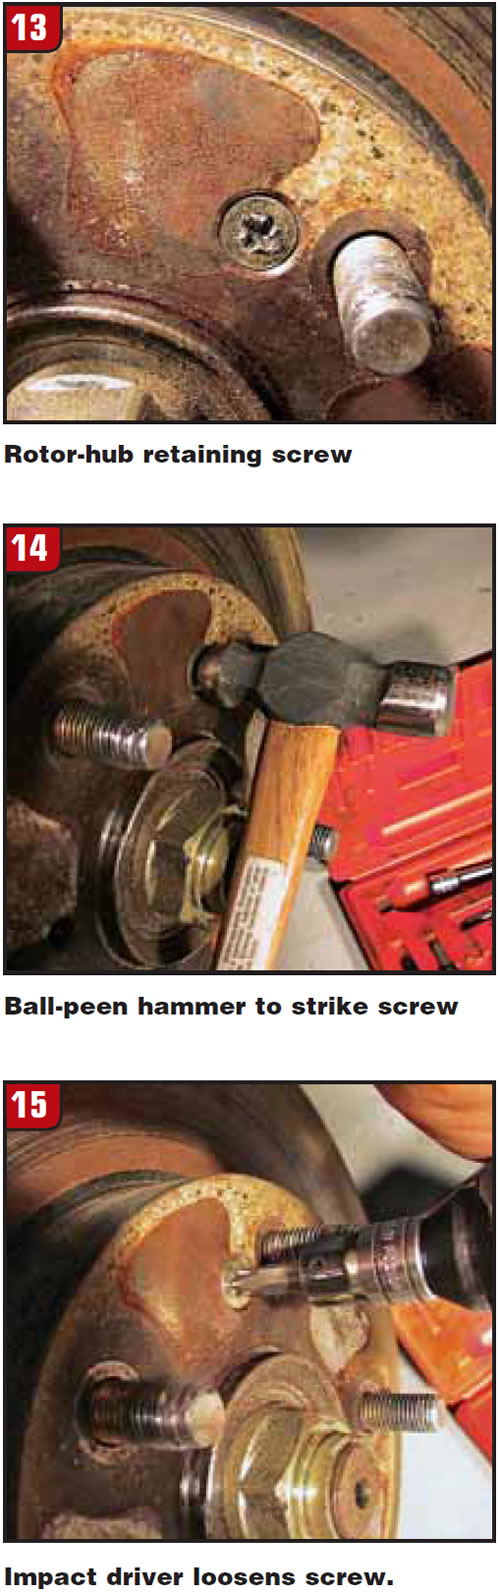
When it comes to rotor retaining screws (Figure 13), I have broken all the bits in my impact driver set and have had to get new ones. But that was before a friend told me the following tip: Place a ball-peen hammer against the screw (Figure 14) and strike that hammer with a second hammer. This will “shock” the screw and will often push mushroomed edges back down, allowing a better purchase with my impact driver (Figure 15). Since I’ve done this I rarely break tips off of my impact driver tool!
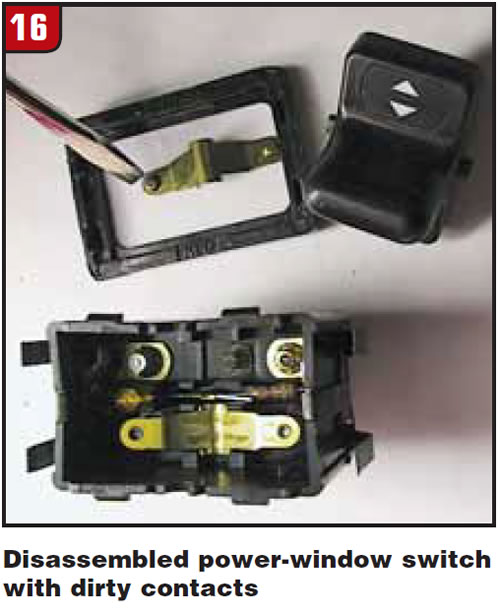
How many times have you located a faulty power-window switch? Have you ever repaired one? I have discovered, through curiosity, that when I take the switches apart, most of them fail due to dirty, darkened contacts (Figure 16). On several occasions I have disassembled the switch, removed the contacts, cleaned them with abrasive cloth and reassembled the switch. I can often put an extra little “bend” into the arm for a more-forceful contact. A fun repair, and it often begins as a “quick” fix to get a customer a functioning driver’s window until they need a new switch, and it lasts for a long time.
As always, safety first! Some of these tips aren’t recommended for every situation but often can be the right thing to do at the time and can often save the customer money and aggravation.

Brian Manley is a vocational automotive instructor for the Cherry Creek school district in Aurora, Colo. He is an ASE master certified automobile technician and a former member of the National Automotive Technicians Education Foundation (NATEF) board of trustees. You can reach him at [email protected].
This copyrighted article is reprinted with the permission of AutoInc., the official publication of the Automotive Service Association (ASA). To learn more about ASA and its commitment to independent automotive-service and repair professionals, visit www.ASAshop.org or call 800-272-7467.