Another Day at the Orifice
Modifying orifice size in valve body separator plates has been practiced as long as automatic transmissions have been in existence. From performance upgrades to attempting to fix problems caused by valve-body wear, opening up orifices can provide positive effects – but can just as easily cause unforeseen problems. To avoid unwanted results, it is necessary to know when to drill, what size to drill to and when not to drill.

Valve body – GM Gen. 2 6T70, 6T75, 6T80 – Vacuum testing
Critical Wear Areas & Vacuum Test Locations
NOTE: OE valves are shown in rest position and should be tested in rest position unless otherwise
indicated. Test locations are pointed to with an arrow. Springs are not shown for visual clarity.
A low vacuum reading indicates wear. For specific vacuum test parameters,
refer to additional information available at www.sonnax.com.
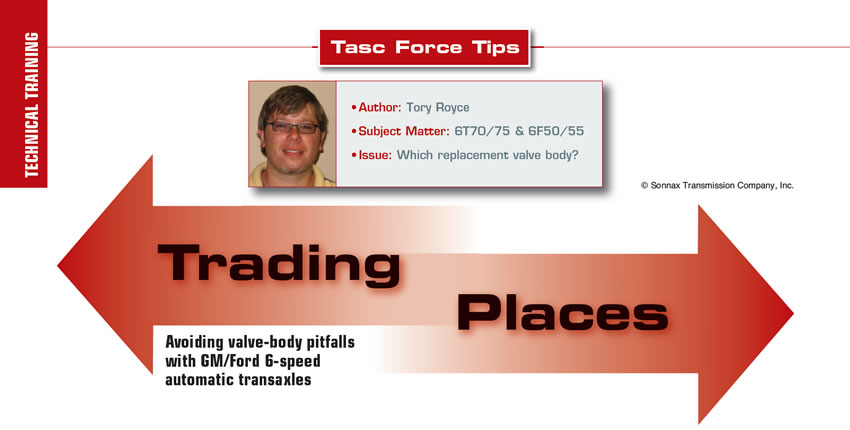
Trading Places
Most builders swapping hard parts have learned that mismatching drive components in a transverse unit will result in a host of negative consequences. The wrong ratio sprocket(s) or carrier can result in TCC and ratio codes, along with converter and unit clutch slippage. Unfortunately, optional ratios aren’t exclusive to the final drive; they can exist in the valve body as well.
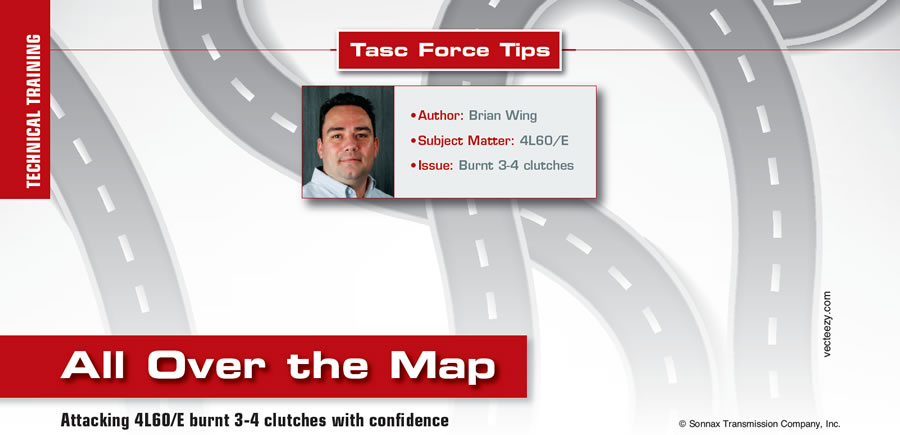
All Over the Map
Burnt 3-4 clutch packs are notoriously common in the GM 4L60/E family of transmissions. Tech hotlines and internet bulletin boards are often jammed-up with people pleading for help with this 3-4 roasting. Some technicians get frustrated and throw multiple Hail Mary replacement parts at the transmission when facing this issue. But it doesn’t have to be an exercise in frustration; burnt 3-4 clutches can be transformed from a dreaded problem into a routine moneymaker.
Jatco/Nissan JF015E (RE0F11A) Vacuum testing
Jatco/Nissan JF015E (RE0F11A) Vacuum testing
Sonnax presents a vacuum test diagram for GM 6T30 and Gen. 2 6T40, 6T45, 6T50.
Sonnax presents a vacuum test dia-gram for GM 6T30 and Gen. 2 6T40, 6T45, 6T50.

Replacing Valve Bodies Dos and Don’ts: Part 2
I would like to go over some basic (yet very important) things that need to be done when replacing the valve body. I’ll also touch on some things that need to be done during the initial road test to help ensure everything goes as smoothly as possible.
Replacing Valve Bodies Dos and Don’ts!
When you replace the valve body instead of rebuilding it, on one hand you gain by getting a valve body that has been refurbished with oversized valves, remanufactured or new solenoids, and tested to ensure it is working as designed. On the other hand, you don’t get the benefit of taking the original valve body apart to vacuum test bores, assess wear or find sticking valves or solenoids, and disintegrated checkballs and so on. You may even miss a host of other useful hints that can help explain why the transmission had the symptoms it came in with.
Valve Body – Vacuum test locations
Valve Body – Vacuum test locations
‘Yaw’ Making Us Chase Our Tails
The vehicle is a 2012 GMC Acadia with a 6T70 that has 85,000 miles on it. It comes to us from a dealer, and it belongs to a dealer employee’s relative. What difference does who owns it make? Bear with me, it all comes together to create a nightmare.

Solving the 6R80 Leak Mystery
When the vehicle was inspected on a lift, it appeared to have multiple leaks, but the most prominent leak seemed to be coming from the case connector. A data search found three bulletins related to a leak at the case connector…

Solenoid Differences: Ford 6F35 Gen 1 vs. 2
Looking back on the history of the Ford 6T40, the cousin to the 6F35, we recall a second generation of this transmission coming out in 2012. There were many control-valve changes to this valve body as the pressure switches were eliminated and the top cover of the valve body had damper and spring assemblies added to it to provide miniature shock absorbers to each of the solenoid output circuits.