R&R Tech
Author: Troy Hopp, diagnostician
Subject Matter: Diagnostic sleuthing
Vehicle Applications: 2004 VW Beetle
Issue: Improperly installed aftermarket accessories
Rewiring of aftermarket radio reveals transmission problems
Remember the days when you’d get a car in your shop with the complaint of “dash lamps inop?” The first thing you’d look at even before checking the fuse (and usually see) was a freshly-installed in-dash aftermarket stereo system. Another do-it-yourselfer sabotage. Sir, the yellow wire is NOT a ground. Fuses blow when a powered circuit is grounded and, er – never mind. I’ll fix it for $40.
Easy money, right? Those were the days. If only it were that simple today. Given the complexities and advancements of intricately networked electrical components, aftermarket electrical accessory installations become a challenge for even the most seasoned professional, and nearly impossible for the at-home repair ninja.
One typical Tuesday a customer brought his 09G-equipped 2004 VW Beetle into our shop early in the morning. He stated that his 6 speed automatic transmission “… jerks on downshifts when warm, and the engine revs up on upshifts while driving on the highway. It also slams into gear on occasion.” Sounds like a fun one, so I prepared to duplicate, verify, and diagnose the issue.
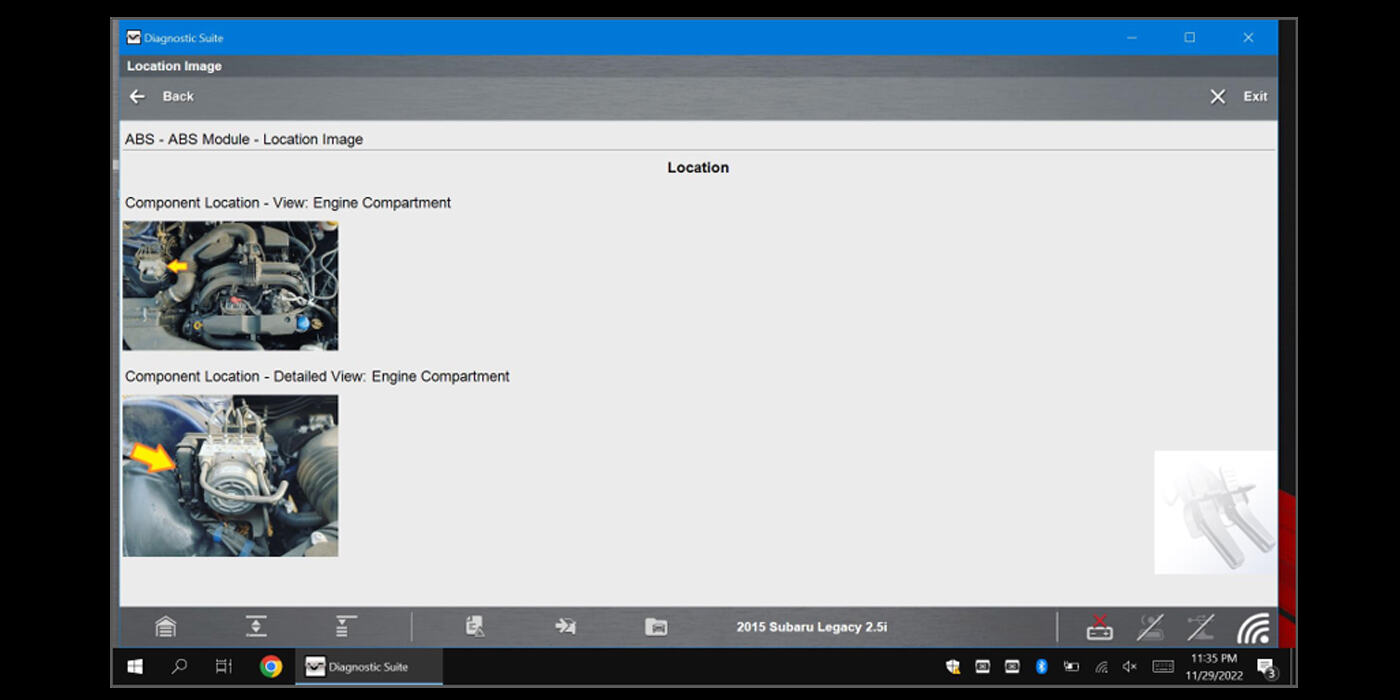
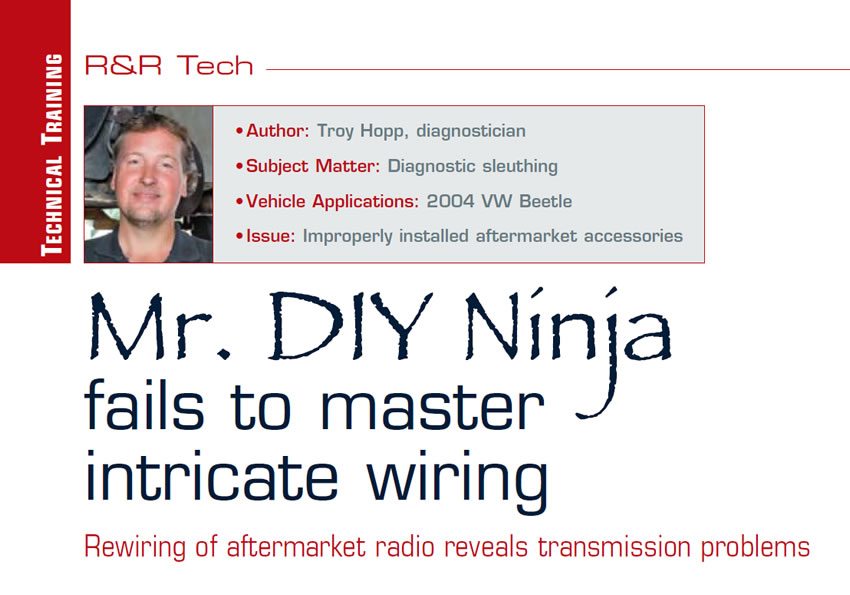
The customer left the vehicle with us so I could do my evaluation. This consists of a short road test, computer scan, fluid check, and under car inspection. So, the first thing I did was hook up the scanner to the Data Link Connector. I received a “No communication” error (Figure 1). Well, we’ve all seen this from time to time, and the first thing that we normally check for is a blown fuse (most likely the cigar lighter fuse). I checked each one and in this case the fuses were all fine.
I remembered hearing something regarding aftermarket accessories causing a “No communication” problem on these vehicles. Knowing that the finding cause in this case was going to be challenging, I got with our manager, and we informed the customer that it will be a little bit more complicated than a normal evaluation. We got an extra half-hour for diagnostic time and quickly got back on the car.

The first thing I did was a quick Technical Service Bulletin search that revealed two TSBs pertaining to this issue. TSB Reference # TT 97-14-02 states that the Data Link Connector may be damaged by an aftermarket device (such as a drive data recorder used by an insurance company). It can be bumped by the driver’s leg or misaligned and then forced onto the DLC, and in doing so can unseat (push back) or cause damage to one or more of the terminal pins. There were no devices connected to the DLC, and after a good visual inspection, no damage or any pushed-out terminal pins was found. I could conclude that this possibility was ruled out.
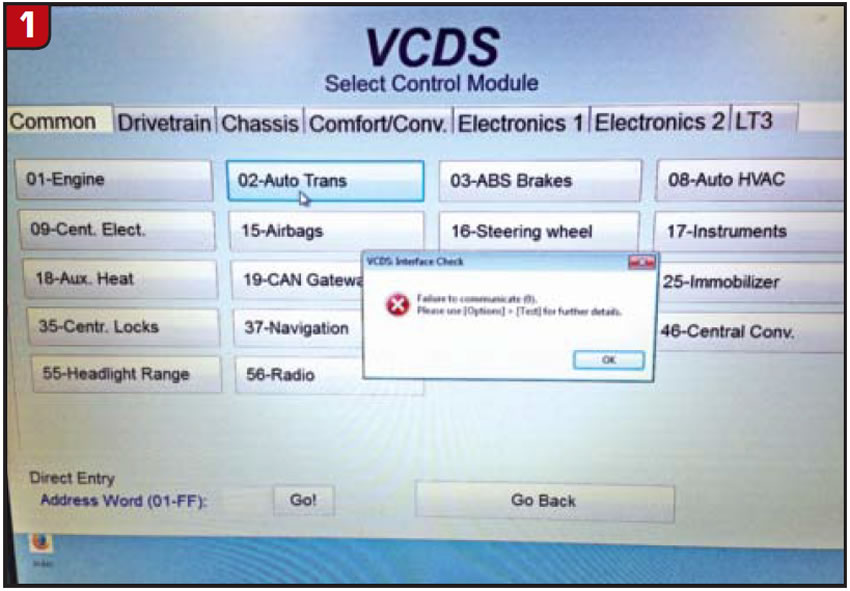
I moved on to the second TSB that I found related to “No communication” errors. This reference number is GROUP 01, NO. 06-13 (2002025). This Technical Service Bulletin states that no communication with the scan tool may be caused by improper installation of aftermarket accessories (including radios, hint-hint) in model years 1996 and newer vehicles. This particular Beetle had an aftermarket radio installed (Figure 2).
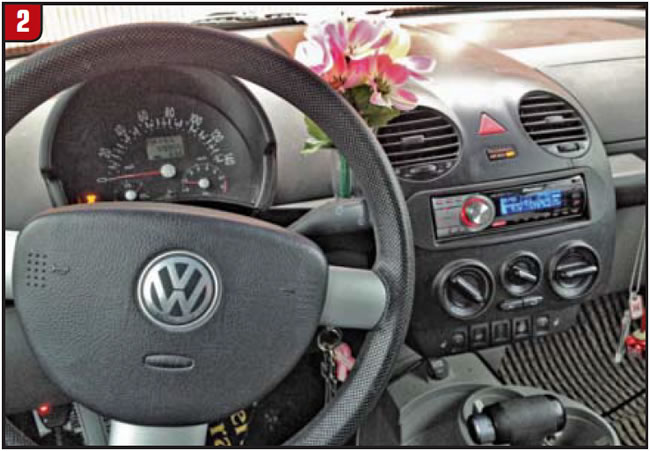
After radio removal, we found what we had been looking for. Apparently, the installer had taped the radio’s power wire into the computer data lines system wire. This is the gray-and-white wire at the #3 terminal of the original radio connector (Figure 3).
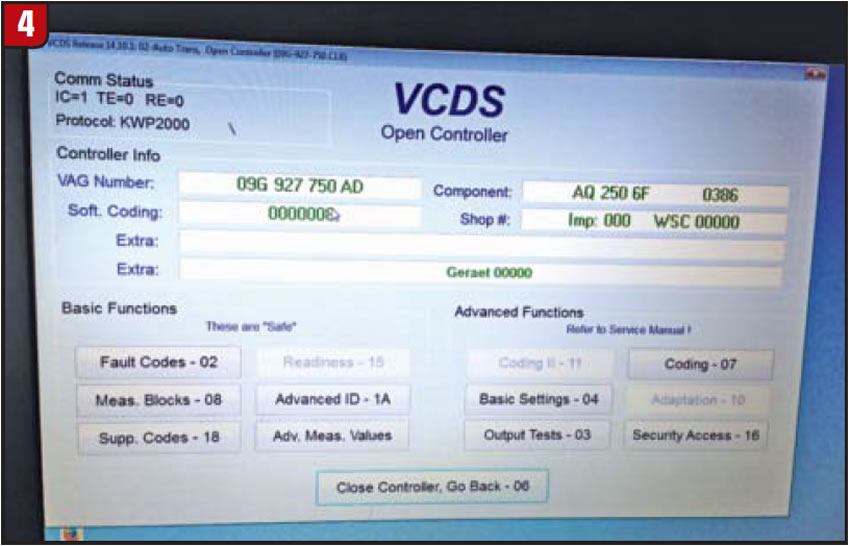
I disconnected this wire from the aftermarket radio, and like magic, the scanner had communication. I connected the radio’s power wire to the correct 12-volt ignition source at terminal #4 of the original radio connector, which is properly fused at fuse #37. Bus communications were no longer compromised, and I reinstalled the radio, albeit correctly this time (Figure 4).
After a little bit of a detour, I was back in business and was now able to carry out my test drive and observe the scanner information. I was able to verify all of the described symptoms. There were hard 2-3, 3-4 and 5-6 upshifts and downshifts. I also felt a 4-5 upshift flare and delayed harsh engagement into gear after being warmed up. Upon scanning the computer, I also found that there were no trouble codes indicating any electrical issues. I then verified that all scanner parameters read normal, and after raising the vehicle to inspect the fluid in the sealed transmission (no dipstick), I found that the transmission fluid was burnt and black, and determined that the transmission had internally failed.
This particular case was not the most difficult, but provided a bit of a challenge to solve the communication issue. Thankfully, after just a little extra time, the problem was easily corrected, another transmission was sold, and we have another happy customer out on the road. Unfortunately for the customer, it cost a little more than $40 this time.
Thank you for the business, Mr. DIY Ninja!
Troy Hopp has been in the automotive repair industry his entire career and has been with Certified Transmission since February 2010. He has an Applied Science Degree in Automotive Technology from Western Iowa Tech and is an ASE Master Certified Technician.