
Tech To Tech
- Author: Brian Manley
- Subject Matter: Older vehicles
- Issue: New ways to diagnose problems
More issues call for more diagnostic ‘what-ifs’
With the average age of vehicles on the road hitting an all-time high of 11.4 years, I continue to revise my path of diagnostic “what ifs?” The preponderance of age-related issues creates the need for me to consider alternative pathways to identify the root cause, especially when diagnosing intermittent concerns.
A recent case involving a 1993 Pontiac Grand Am provided a perfect example of how my diagnostic strategy is evolving. My customer’s concern was “intermittent no-start” and true to many of the challenges that you and I face, this Grand Am started every time for me, even after keeping the vehicle for two days. As it is true for most vehicles of this age, my Pontiac had 153,000 miles. While driving, I did not experience any performance issues, and there were no codes.
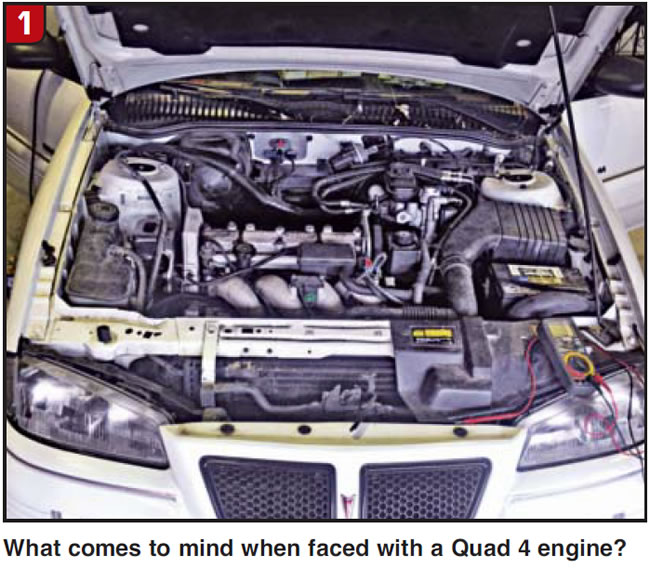
My customer’s 2.3L Quad 4 engine (Figure 1) brings to mind the dozens of coil housings and boots that I’ve replaced due to leakage, and also the coils, crank sensors and modules that have caused misfires or no-starts. In my experience, no-starts from some of these items occurred after a hot soak, which is often common for electronic components.
I am also aware of the National Highway Traffic Safety Administration recall involving the neutral safety switch on this vehicle that “could have been fractured during installation, causing a no-start condition, and also allowing the vehicle to be started in gear.” This was on my mind as a possible suspect, too.
So, when attempting to create a hierarchy of possible culprits for the no-start I was certain to experience, I was going to build a long and varied list.
My repair information system listed many possibilities, including all of those listed above, and it actually had its own indication of how many times each component would fix their car.

I wrote a Tech to Tech article (May 2010) explaining the frustration associated with fretting corrosion – the tendency for some male-female connections to develop excessive resistance over time. So, on this customer’s vehicle I was trying to avoid moving any connectors for fear I might “fix” the issue and never have it act up for me.
Interesting note: One of my information systems listed a technical service bulletin (TSB) addressing fretting corrosion, stating that this condition can cause “intermittent no crank or no-start,” and listed the cause as “a buildup of nonconductive insulating oxidized debris, occurring between two electrical contact surfaces of the connection or connector.” It continues by listing that vibration, thermal cycling, poor connection and micromotion can all be causes of fretting corrosion, resulting in a myriad of conditions. Amen.
I had to decide when I was going to cross the fence and into intrusive testing, including disconnection of connectors and components in search of corrosion. I had reached that point and decided to begin a thorough “tugging” process, looking for loose ground connections and potential areas where harnesses may be rubbing against sharp objects.
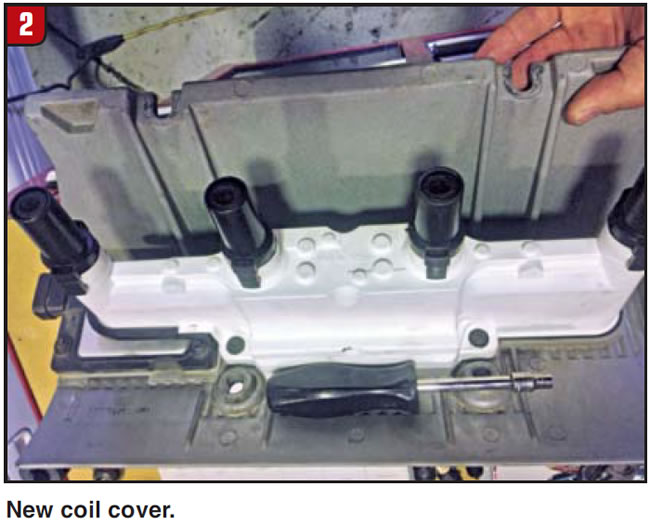
I decided to pull off the coil cover and check for some of the usual suspects (Figure 2), including all that lives under this cover. It was apparent that prior attempts to fix this vehicle included many new ignition parts, including the cover, coils and module.
And then it happened: I attempted to start my Grand Am and it cranked, but did not start! I tried several times with no luck. I was very happy, but had that feeling where you weren’t sure just how long it would stay “broken” so I could complete my diagnosis. I dove in by checking for spark and injector trigger, along with fuel pressure.
I observed no fuel pressure, no spark, and no injector pulse! All right, now I had a diagnostic path to follow. An interesting note about a revision to my familiar information system: The old “A” and “C” charts for no-start diagnosis have been replaced with pertinent information inserted into the appropriate article. This information was found in “IGNITION SYSTEM: No Start – Engine Cranks OK.”
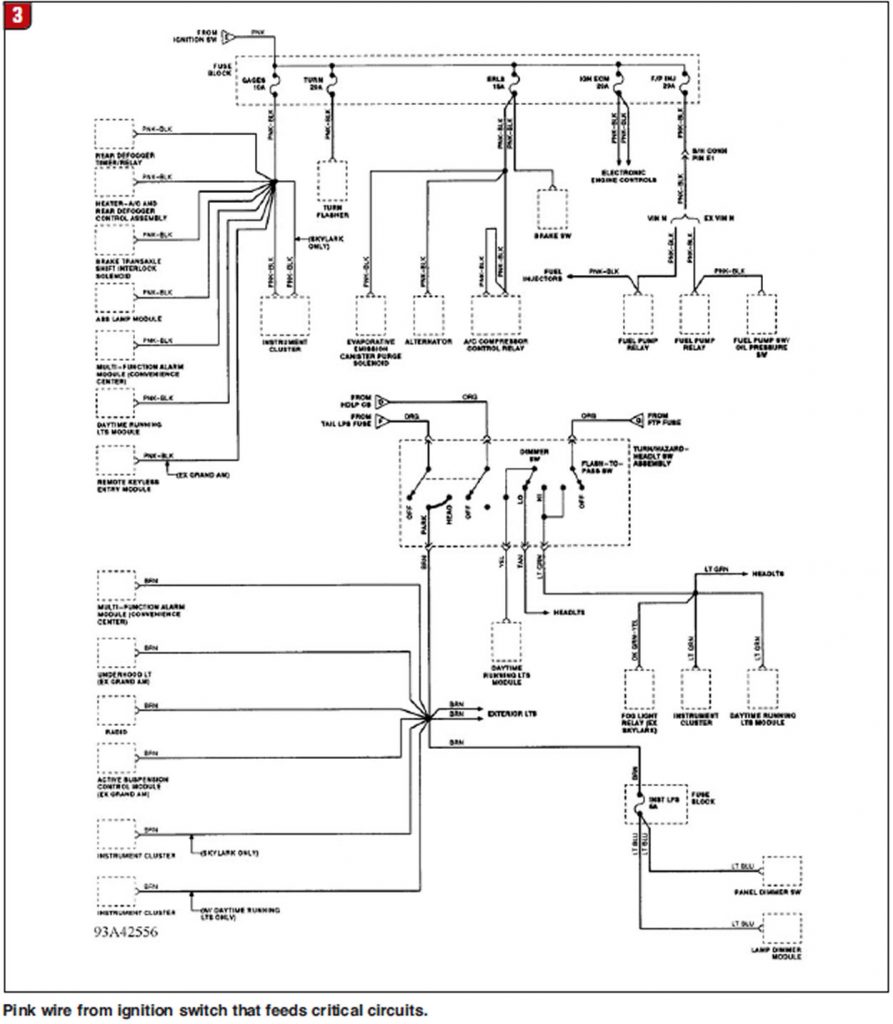
The first item I was directed to test was the fuel pump/ignition fuse. There was no power to this fuse. I pulled the wiring schematic for the fuse block to see what wire powered this fuse (Figure 3), and it was the pink wire coming from the ignition switch. Ultimately, disassembling the column to get access to the ignition switch allowed me to verify that there was no power to this wire! Boom!
Ultimately, these are the experiences that are nudging me toward revising my path of diagnostic “what ifs?” In my repair bay, old ignition switches have been popping up more frequently as the root cause for intermittent no-start conditions. The more age-related issues pile up, the more I need to find new ways to identify the root cause, especially when diagnosing intermittent concerns.
Brian Manley is a vocational automotive instructor for the Cherry Creek school district in Aurora, Colo. He is an ASE master certified automobile technician and a former member of the National Automotive Technicians Education Foundation (NATEF) board of trustees. He can be reached at [email protected].


